
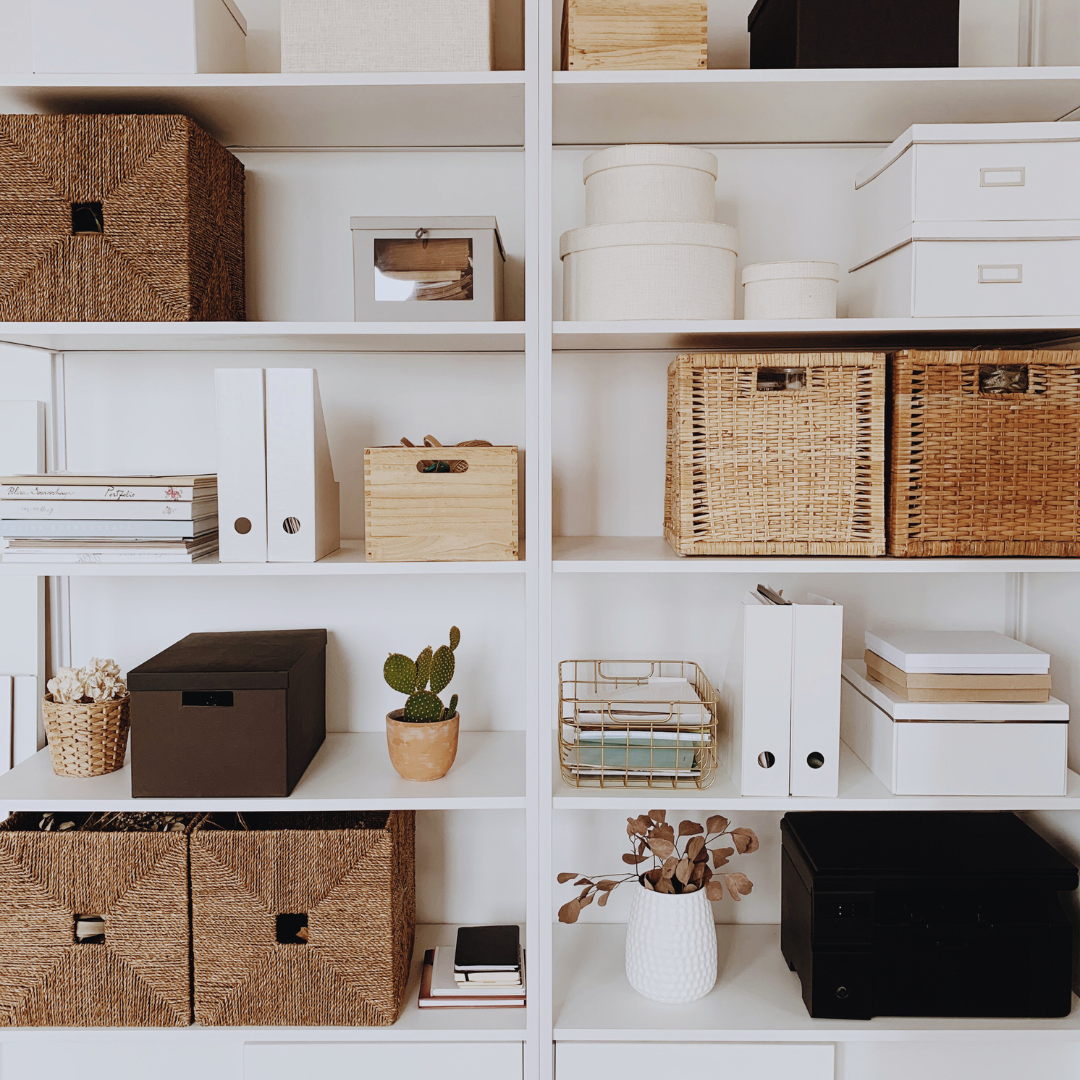
Building storage shelves is a practical solution for anyone looking to maximize their space. With the right materials and a clear plan, creating DIY storage shelves can significantly increase extra storage in areas like garages. Many shelf designs cater to various needs, whether for organizing tools, displaying decor, or stowing away seasonal items.
DIY shelving ideas can help individuals transform cluttered spaces into organized areas. By selecting the appropriate materials and adhering to basic construction techniques, they can create sturdy, functional shelves. The options available range from simple wooden shelves to more complex configurations that incorporate metal or repurposed materials.
Garage storage often requires durable and tailored solutions to handle heavy items. This guide will explore various designs and styles that provide effective shelving solutions, ensuring anyone can find the perfect fit for their storage needs.
Essential Tools and Materials
Choosing the right tools and materials is crucial for building sturdy storage shelves. This section focuses on selecting quality materials and listing the essential tools needed for the project.
Selecting Quality Materials
Quality materials ensure durability and stability for storage shelves.
- Plywood is a common choice due to its strength and versatility. Opt for a thickness of at least 3/4 inch to support heavy loads.
- When selecting plywood, consider the grade. Higher-grade plywood is smoother and less likely to warp or splinter.
- Additionally, using wood screws and wood glue for assembly strengthens joints. Ensure that brackets are of high quality to provide adequate support.
- For a finished look, consider the type of finish or paint. Proper treatment can enhance the appearance and prolong the life of the shelves.
Tool Checklist
A comprehensive tool checklist is essential for building shelves efficiently. Here are key tools to have on hand:
- Miter Saw: Ideal for making precise angled cuts.
- Table Saw: Useful for ripping sheets of plywood into narrower boards.
- Circular Saw: Great for cutting large sheets at home.
- Nail Gun: Speeds up assembly by quickly securing pieces together.
- Kreg Jig: Facilitates pocket hole joinery for a clean look.
Other essential tools include brads for fastening, clamps for holding pieces in place, and a router for adding decorative edges. Having the right tools on site makes for a smoother building process.
Design and Planning
Effective design and planning are essential steps in building storage shelves. This involves evaluating the specific storage needs and creating a detailed cutting list to ensure the project proceeds smoothly.
Evaluating Storage Needs
Before starting construction, one must assess the available storage space. This includes measuring the area where the shelves will be installed, often found in garages or basements.
Consider the types of items to store. Heavy tools, boxes, and seasonal items may require sturdy 2×4 shelving with appropriate shelf supports.
Create a list of the items to ensure shelves can accommodate the weight and size. This evaluation will guide decisions on dimensions and materials. Optimize vertical space by determining how high and wide the shelves can be without interfering with other elements in the area.
Creating a Cutting List
A cutting list translates shelf plans into manageable pieces. First, gather materials such as 2x4s, plywood, and hardware.
For example:
- Vertical supports: 4 pieces of 2×4 at specified heights
- Horizontal shelves: 3 pieces of plywood cut to the desired length and width
Clearly indicate each cut’s dimensions in the list to minimize mistakes.
Take account of the width between shelves, which will depend on the size of items stored. Including a few extra pieces in the list for unexpected adjustments can prevent delays during assembly. Following this detailed cutting list streamlines the building process and ensures all components are ready for assembly.
Assembly and Installation
Careful assembly and secure installation are critical steps in building effective storage shelves. The following details will guide you through constructing the shelving units and properly mounting them to ensure stability and safety.
Constructing the Shelving Units
To construct the shelving units, start by gathering all necessary materials. This includes shelves, brackets, screws, and a drill. For DIY shelving, wood is a common choice due to its sturdiness and availability.
- Measure and Cut: Measure the space where the shelves will be installed. Cut the wood to desired lengths, ensuring uniformity.
- Assemble the Framework: Create a frame by joining vertical supports to horizontal shelves. Use brackets for additional support.
- Pre-drill Holes: For a cleaner look and easier assembly, pre-drill holes in the wood to avoid splitting.
- Secure Joints: Use wood screws or screws specified for metal brackets to secure joints firmly.
This approach works well for both built-in shelves and garage shelving options.
Mounting and Securing Shelves
Once the shelving units are constructed, proper mounting is crucial for functionality.
- Locate Studs: Use a stud finder to identify wall studs. Mounting shelves directly into these will provide maximum support.
- Level Shelves: Before securing, use a level to ensure each shelf is straight. This prevents items from sliding or rolling off.
- Install Brackets: Attach brackets to the wall using heavy-duty anchors if required. Tighten screws securely.
- Add Shelves: Place the cut shelving boards onto the brackets. Confirm everything is stable before loading.
These steps apply to both wall shelves and box shelves, ensuring safe and effective storage solutions.
Finishing Touches
After constructing the shelf, attention to detail enhances both functionality and aesthetics.
- Sanding: Begin by sanding the surfaces to remove any rough spots. This creates a smooth finish and prevents splinters. Use fine-grit sandpaper for best results.
- Painting or Staining: Choose an appropriate paint or stain. A finish can accentuate the wood grain or provide a pop of color. Be sure to apply a sealant for durability.
- Hardware Installation: Attach the necessary hardware. This includes brackets, handles, or hooks. Ensure they are securely fastened to maintain stability.
- Shelf Design Elements: Incorporate design features like adjustable shelves or decorative brackets. This adds versatility and style to the shelves.
- Organizing Items: Arrange items thoughtfully. Utilize storage bins or labels for a clean look. This maximizes space and creates an organized appearance.
- Final Checks: Inspect the shelf for stability. Make any adjustments as needed. It is crucial that the shelf can support its intended load.
Finishing touches can transform DIY shelves from functional to visually appealing. By focusing on these aspects, the shelves will serve their purpose beautifully while enhancing the space.


Leave a Reply